How to Use Chromecast on Your Non-Smart TV?
If someone has a TV and a Chromecast dongle, they’re just a few steps away from upgrading their TV. They can follow this guide to learn all about it, or keep reading below. With the prices of smart TV’s getting higher and higher, it’s hard to justify the cost. Luckily there’s an item you can buy called a Chromecast that will instantly upgrade your TV.
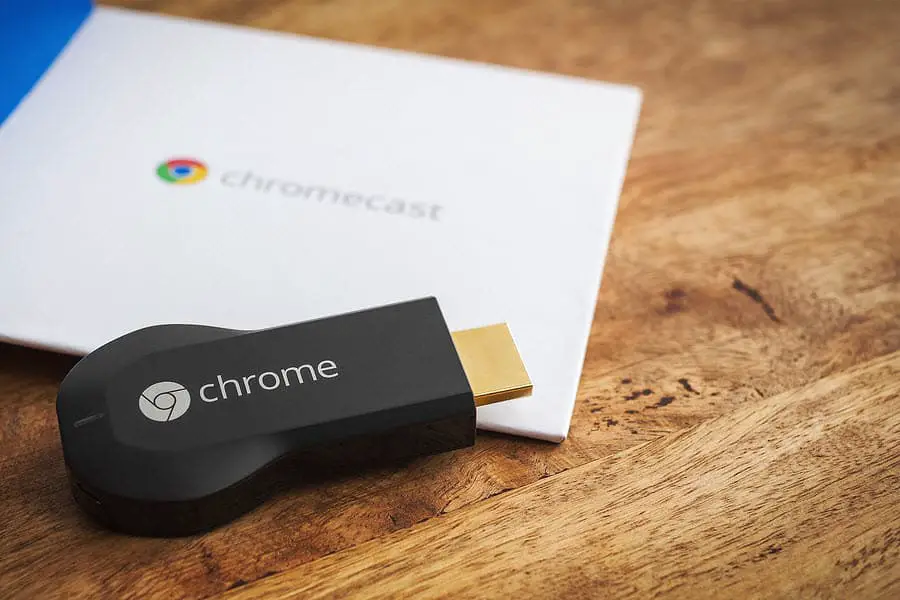
For those who didn’t know, a Chromecast is a Google-made device that plugs directly into a non-smart TV. It then upgrades your TV and unlocks content that’s typically only available on smart TVs. It gives instant access to apps like Hulu, Netflix, and Crunchyroll.
Step One: Plug In the Chromecast
The first step is to plug the Chromecast device into a TV using a USB cord. Simply plug that USB cable into any USB port on the TV. Additionally, plug the Chromecast into a power outlet to make sure it’s powered.
Step Two: Start It Up!
When it’s plugged in, now it’s time to start it up. The user will need to download a Chromecast app on their mobile device or tablet to make sure they can connect. When they have the app downloaded, they must ensure that both their Chromecast and their smart device are connected to the same Wi-Fi network. This is needed to make sure they work together.
SEE ALSO: Streaming Devices Face Off: Chromecast VS Fire Stick
Step Three: Download Google Home
Start up the TV and a screen should appear that says “Welcome, To get started, download the Google Home app on your phone or tablet”. The user should follow that prompt and visit the Google Play or App Store to download Google Home onto their smartphone or tablet.
Step Four: Connect Smart Phone to Chromecast
After the app is loaded, it’s time to connect everything. If the user has a second-generation Chromecast, they will be immediately connected via Bluetooth as long as the phone has Bluetooth turned on.
If the user has a first-generation Chromecast, they will need to connect via the Wi-Fi connection page on their phone. It should be noted that this Wi-Fi method can work with any generation Chromecast. Just in case things don’t go right, it’s good to have a backup!
Ensure that everything is connected before moving on.
Step Five: Configure It
When the Chromecast is connected, it’s time to configure it. Start the Google Home app on the smartphone and that will finish the process of configuring this new device. The phone may or may not automatically prompt the user right when the app is opened. If it does not automatically prompt, then the user would need to click on the top-right corner. There is a symbol that looks like a silhouette of a speaker and a TV.
SEE ALSO: 9 Best Streaming Devices on Amazon
Step Six: Set Up the Chromecast
After clicking this button there will be a list of devices that need to be set up. The user should check that their device and their TV display the same identifier before hitting the “Set up” button on their phone.
It will lead the user to a screen that says “Chromecast found” and will display the temporary name of this device. If this happens, it means that the first step in the setup process is completed. Click the “Continue” button to progress forward.
The next thing that happens is the TV will display a confirmation code. This is to ensure that the user is connecting the correct two devices together. A prompt will display on their phone that asks if they see the code on their TV and will display a 4-digit code. If the two codes match, then click the “I see it” button.
For the next step in the setup process, a screen will appear that asks the user to name their Chromecast. This is especially useful for a house that has multiple Chromecasts. An example name for this device might be “Bedroom”, or “Living Room” to help later in troubleshooting and connecting.
When a new name is typed, the “Continue” button must be pressed to move on.
The next screen will ask for the user to log into their Wi-Fi network. It is important to remember that the same Wi-Fi network must be used for their smartphone as well as the Chromecast. That being said, it should be connected to whichever network is most used by the smartphone.
After plugging in the Wi-Fi credentials, a screen will display prompting the user to sign in. This gives the user an ability to link their Google account with their Chromecast. It’s not a requirement, but it does yield some advanced features.
Optional Step: Link a Google Account
Linking the Chromecast to a Google account will give the user an ability to customize their backgrounds with custom photos, as well as other convenience and aesthetic upgrades.
There is a gray option to “Skip” linking the two accounts, or to “Sign in”. Obviously “Skip” will take the user to the next page. The “Sign in” button will ask the user to log in to their Google account, finalizing the link.
Process Complete, Start Using the Chromecast
Once the Chromecast is paired to the TV, it’s time to start using it. The user can choose to cast videos or music directly to their TV. They can also choose their favorite streaming app and start watching TV shows or movies.
Overall, the process is pretty straightforward. Luckily the folks at Google made it really easy to install one’s Chromecast to their TV. If the user gets stuck during setup, they can follow this guide or they can visit one of the online forums where they can ask questions about setting it up.
More or less, the user needs to follow the prompts on their screen until they’re completely set up. The process is spelled out pretty nicely on the user’s phone as well as the TV that the Chromecast is plugged into.